
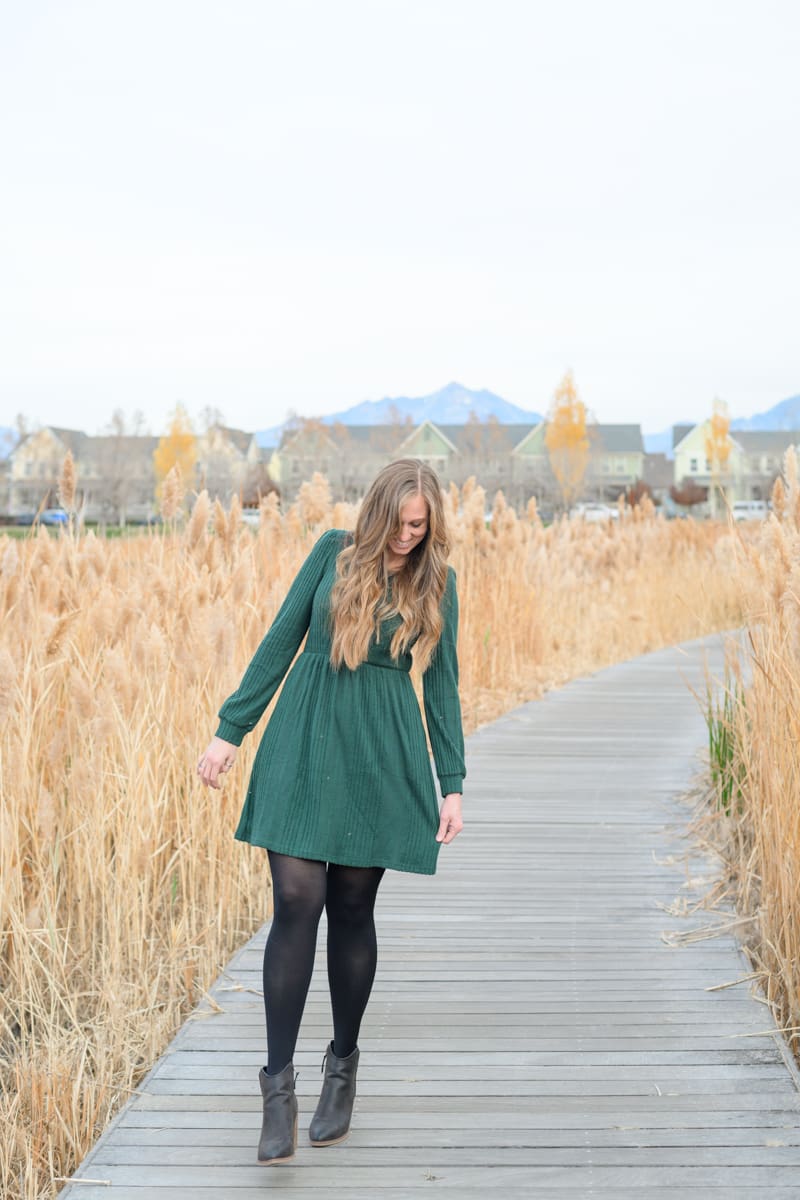
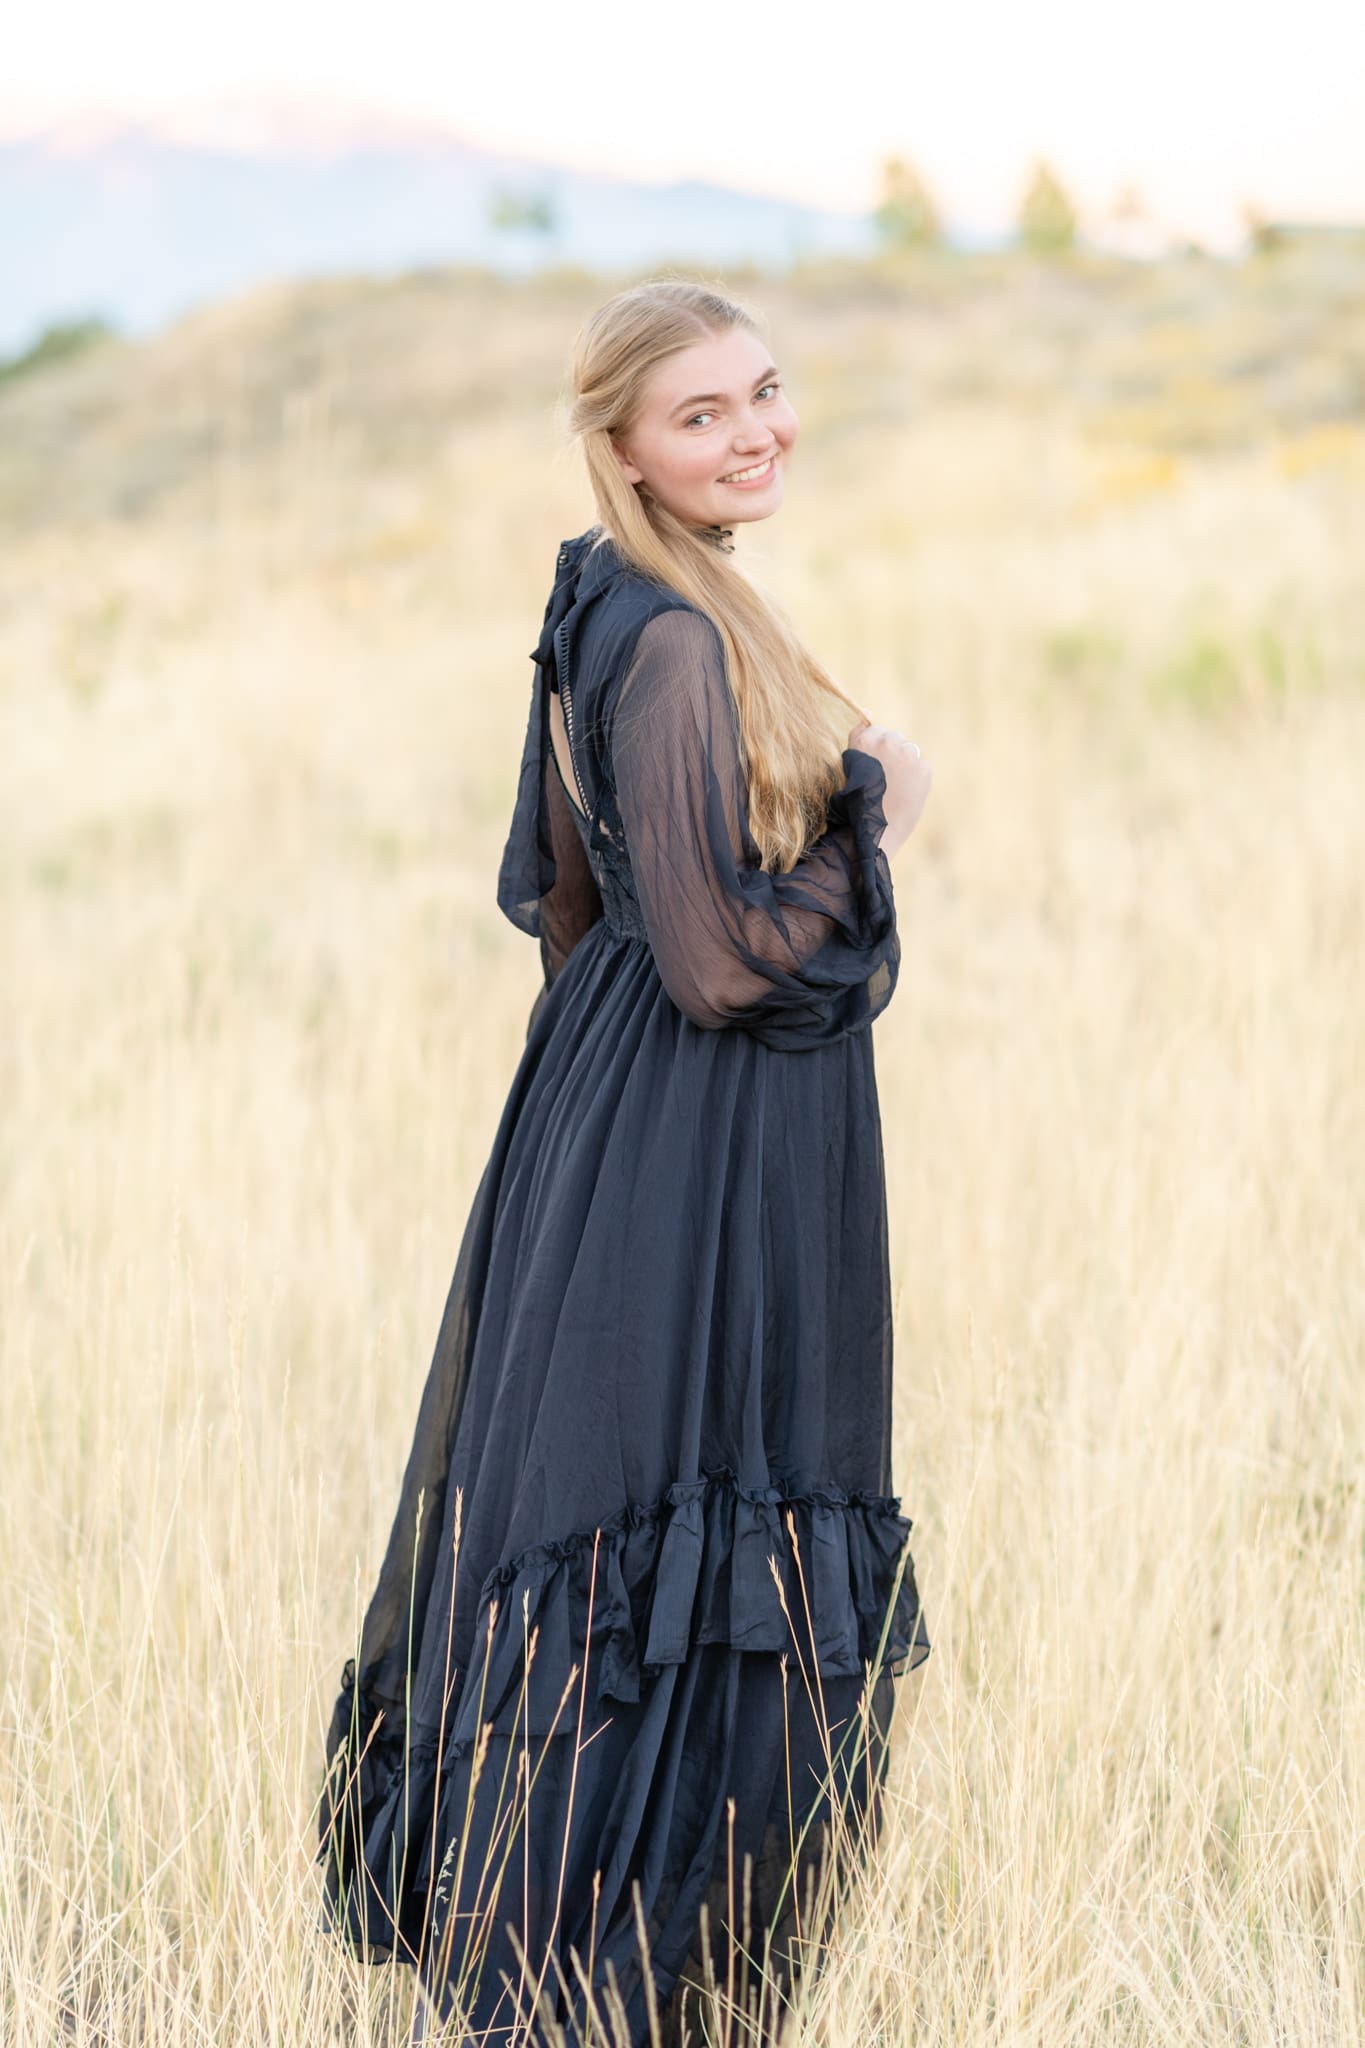
You put thought into choosing a photographer, planning your session, and selecting images you love. Printing those photos is the final step in making sure they can be enjoyed for years to come.
Throughout this series, we have talked a lot about personal photos. The everyday images that live on your phone, the moments you capture as life unfolds, and the systems that help you keep them safe and organized. Professional photos fit into that same story. They mark milestones and seasons, and they deserve the same care once they are in your hands.
If you have ever opened a package of prints and felt disappointed by the result, you are not alone. The good news is that a few simple choices can make a big difference in how your photos look in print.
Here are five tips to help you print your photos with confidence.
1. Choose a Quality Print Lab
Professional photographers regularly calibrate their monitors to match professional print labs. These labs use high quality paper and equipment designed to produce accurate colors and long lasting prints.
Consumer labs can be convenient and budget friendly, but they often use lower quality materials and printers that are not consistently calibrated. This can result in unexpected color shifts or fading over time.
If you are looking for a reliable consumer option, Mpix is a great choice. It is connected to a professional lab and offers excellent quality while remaining accessible.
2. Pay Attention to Cropping
Most photographers shoot in 3:2 aspect ratio. Some print sizes match this ratio exactly, while others require cropping.
Sizes like 4×6, 8×12, and 12×18 allow you to print without cropping. If you choose a size that requires cropping, take a moment to review the preview and make sure nothing important is being cut off.
3. Turn Off Automatic Color Correction
Many print labs offer automatic color correction, sometimes enabled by default. Because your images have already been edited intentionally, this setting can change the look of your photos in ways you may not expect.
Before placing your order, double check that color correction is turned off so your prints reflect the photographer’s original work.
4. Understand Paper and Finish Options
Different papers and finishes affect how an image looks. Glossy papers tend to make colors appear more vibrant, while matte finishes create a softer look.
Choose a finish that complements the image and your personal style. Above all, opt for high quality materials to ensure your prints last.
5. Use High Resolution Files
For best results, always upload the high resolution files provided by your photographer. Web sized images are designed for online sharing and do not contain enough detail for quality prints.
Uploading from a phone or tablet can also compress images, even if they started as high resolution. Printing directly from a computer helps maintain image quality.
Bonus: Keep Your Print Release Accessible
Some labs require a print release to confirm you have permission to print your images. Most photographers provide this with your gallery, so keep it saved for easy access.
Printing your photos completes the process. With a few thoughtful choices, you can create prints that reflect the care you put into your session and preserve those images for years to come.
For more tips on taking, organizing, and printing your images, check out the Heritage Series!
How to take, Organize, and Print Your Personal Photographs: Family Heritage Series Part 1
Capture your Memories: Heritage Series Part 2
Organizing Your Digital Photographs: Heritage Series Part 3
Backing Up and Protecting Your Photos: Family Heritage Series Part 4


+ COMMENTS
add a comment